| So now that you have created your very first RAD C++ control, it's
time to have some fun with it.
To test the control, you need to have an active form in
Developer Studio client area. If you do not have any project active in Developer Studio,
it is time to create a new one. Click here to find more on how
to create a new project in RadVC environment.
Once you display a form in the DevStudio's client area,
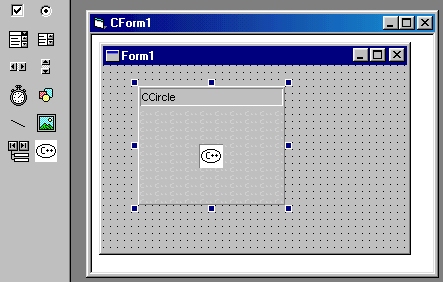
select the circle control in the RadVC toolbox and create a an instance of it on the form,
as shown below.

As you can see, the control is shown as a rectangle with
the class name "CCircle" in its caption and the toolbar bitmap at its center.
This is the standard representation of a control instance on a form and thus is not the
actual design - time drawing of the control.
You probably understand why RadVC is not displaying the
actual design-time drawing of the control. This is so, because the control is still in its
very "raw" form, RadVC has only generated code for it, but we haven't had the
chance to make a compiled / binary version of it.
Other than this rather "static" representation
of the control on the form, you can do just about anything with this control. You can
resize, reposition, set properties and even add event handler for this control in the
form. (Our "Circle" control doesn't have any properties or events yet, but we
will add them later.)
If you aren't still happy with this "standard"
drawing of the control and are thinking what you should do to see the actual design time
drawing, there is a good news for you. We will show you later how you can make a fully functional ActiveX control for our
"Circle" control by just clicking a mouse button. Once you have that ActiveX
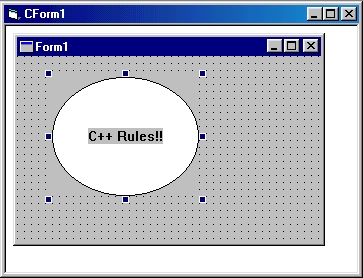
control, you won't be seeing this standard drawing any more, your control will look like
real control on the form, as shown below:

Now that you have created an instance of the control on
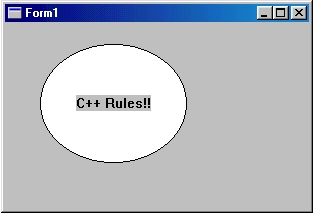
the form, it's time to compile the app and see our "beloved" control
"running".

Although our "Circle" control already looks
pretty cool, but it doesn't really do any "action" other than displaying a
circle and some text, In the next few sections, we will see how we can add some
"goodies" to this control and make it even cooler.
Next >> Part 3:
Examining Control Code
Related Links: |
